
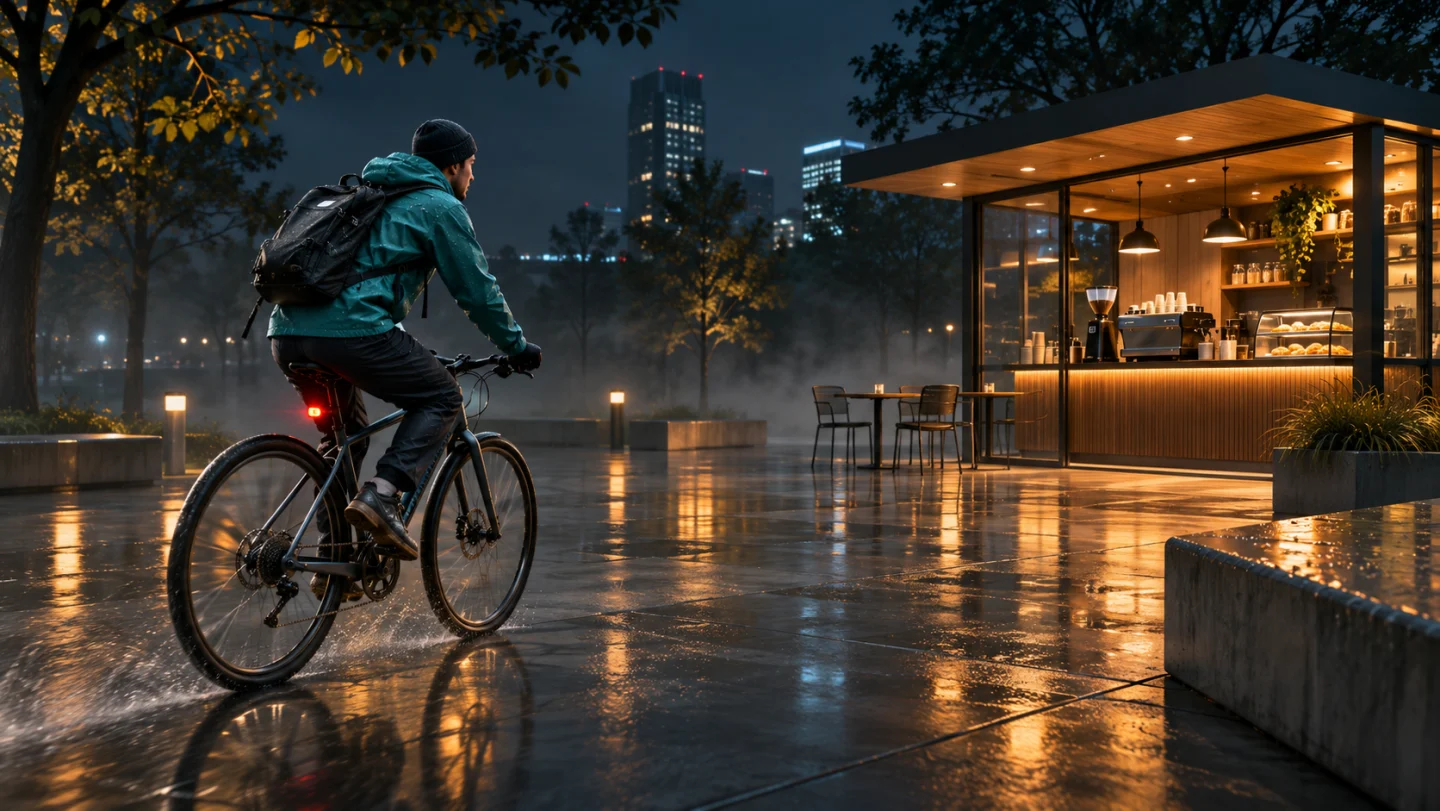
One photo or 2–30s clip
Upload one full-body image or a 2–30 second reference video showing head, outfit, and both shoes inside the vertical frame.
Turn one full-body photo or video into a Jump Transition: the subject leaps, the background switches cleanly at the apex, and the landing settles into a new setting.
Browse other SceneFlare tools for scene changes, styling, and video concepts.
Jump Transition uses a single jump to link two locations. Push off, cut at the highest point, and land in the second place. The main player shows the reference clip. The stills below show the takeoff and landing with two different people.
Upload one full-body image or a 2–30 second reference video showing head, outfit, and both shoes inside the vertical frame.
Seedance 2.5 starts at 10 seconds, 9:16, and 720p with audio enabled. You can adjust the duration (5–30s), aspect ratio, and resolution before generating.
Check the credit estimate on the button before creating. You need to sign in to submit.
Start with a centered, head-to-toe shot that leaves room overhead for the upward rise and clear ground beneath both shoes for the crouch.
A steady camera height and consistent subject scale make the apex cut work—the torso, posture, and screen position should line up before and after.
Unlike Glitch Transition (a digital tear and color split) or Airport Transition (a fixed gate-to-street hand-circle sequence), Jump Transition uses one leap to swap scenes you describe.
Keep camera elevation constant and center your subject so the body silhouette bridges both backgrounds. Describing matching daylight or horizon height in your optional notes helps the apex cut feel natural rather than abrupt.
Specify “fixed camera distance, centered full-body framing, one single vertical jump” in optional details and avoid crowded backgrounds.
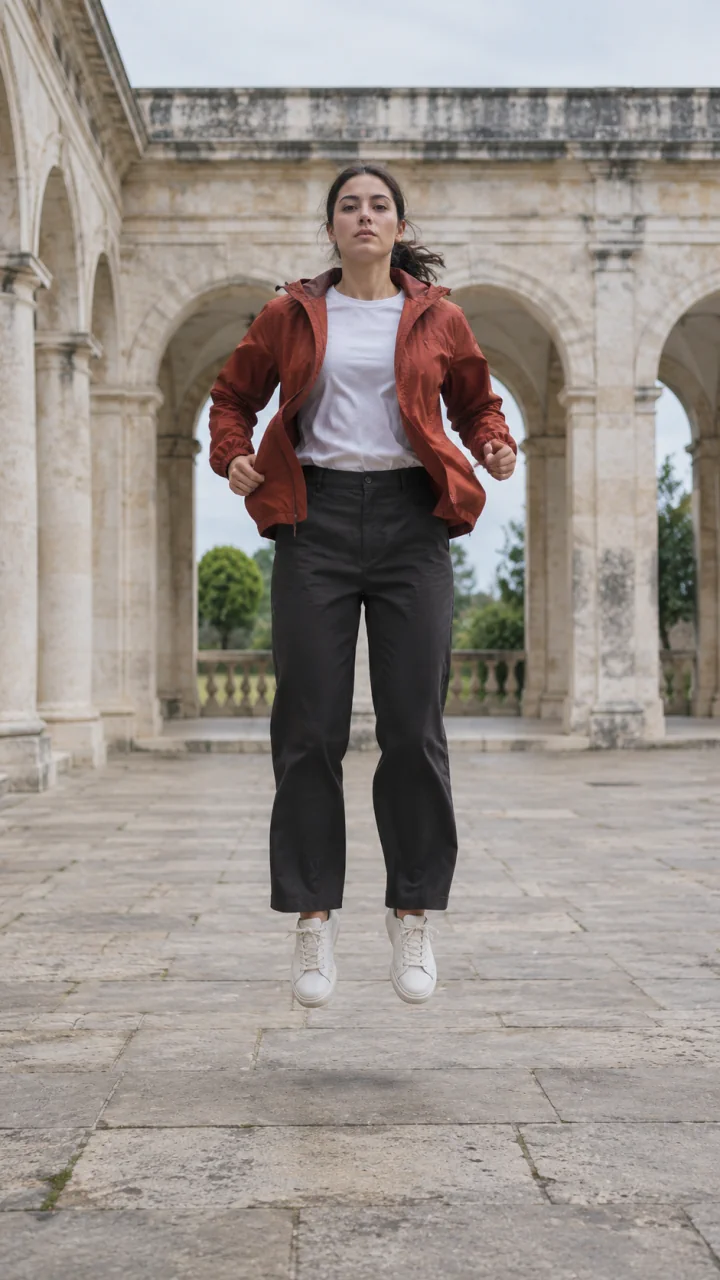
After the mid-air swap, both feet should meet the ground smoothly in the second location. Keep the same person centered at a consistent scale, then hold the landing long enough for the new setting to register.
Check that the landing sound lines up with touchdown. For a music edit, add a licensed track and cut on the landing frame.
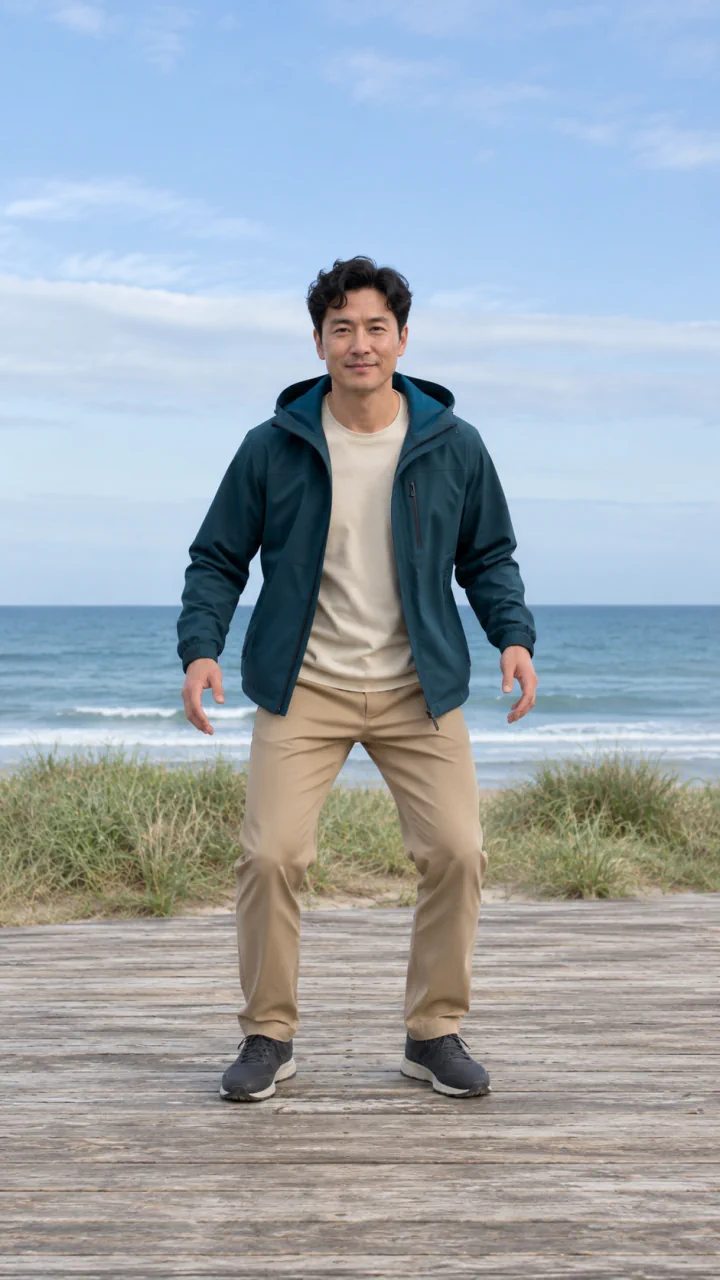
Choose one clear photo or 2–30 second clip with generous headroom, visible shoes, and uncluttered space around the person.
Leave the field blank for the built-in cut, or name your starting spot and landing setting while adjusting 5–30s length, ratio, or resolution.
Sign in, check the credit quote, and inspect the result to confirm identity, clothing, and subject scale match across takeoff, apex, and touchdown.
Glitch Transition bridges shots with a digital screen tear and split color channels, and Airport Transition follows a set gate-to-night-street hand-circle sequence. Jump Transition uses a single full-body leap to cut between scenes you specify at peak height.
No. This preset accepts one required photo or one 2–30 second video for the subject. Describe the destination background or lighting changes in the optional details box.
The preset adds synchronized takeoff and landing sounds. You can add licensed music in an editor. Review the landing before sharing, since generated motion can shift details in clothing, shoes, or limbs.