



1
Use a sharp photo where the objects are clearly visible. Upload, drag and drop, or paste one JPEG, PNG or WebP.
Upload one photo and describe the objects you want to remove. AI edits the image and reconstructs the background; results vary with the photo and instructions.
Example removal


Explore more ways to create and edit images.
A cone in a travel photo, boxes in a listing photo, a sticker on a product. Describe what should go, and the editor removes it and fills the space with the surrounding scene, without masking or retouching by hand.
Use a sharp photo where the objects are clearly visible. Upload, drag and drop, or paste one JPEG, PNG or WebP.
Name each object and where it is, such as left, background or on the table. Add what should stay if it is nearby.
Choose a fixed ratio for 1K or 2K output. Auto lets the model choose dimensions.
Write what should disappear and where it is. You can list several objects in one instruction, such as a cone, a bin and a sign.
The editor asks the model to remove shadows and reflections too, then continue the surrounding texture, lighting and perspective where the object was.
Everything you did not mention should stay in place. The whole image is regenerated, so small details can shift; compare the result with your original.
Compare object-removal examples for room and product photos.
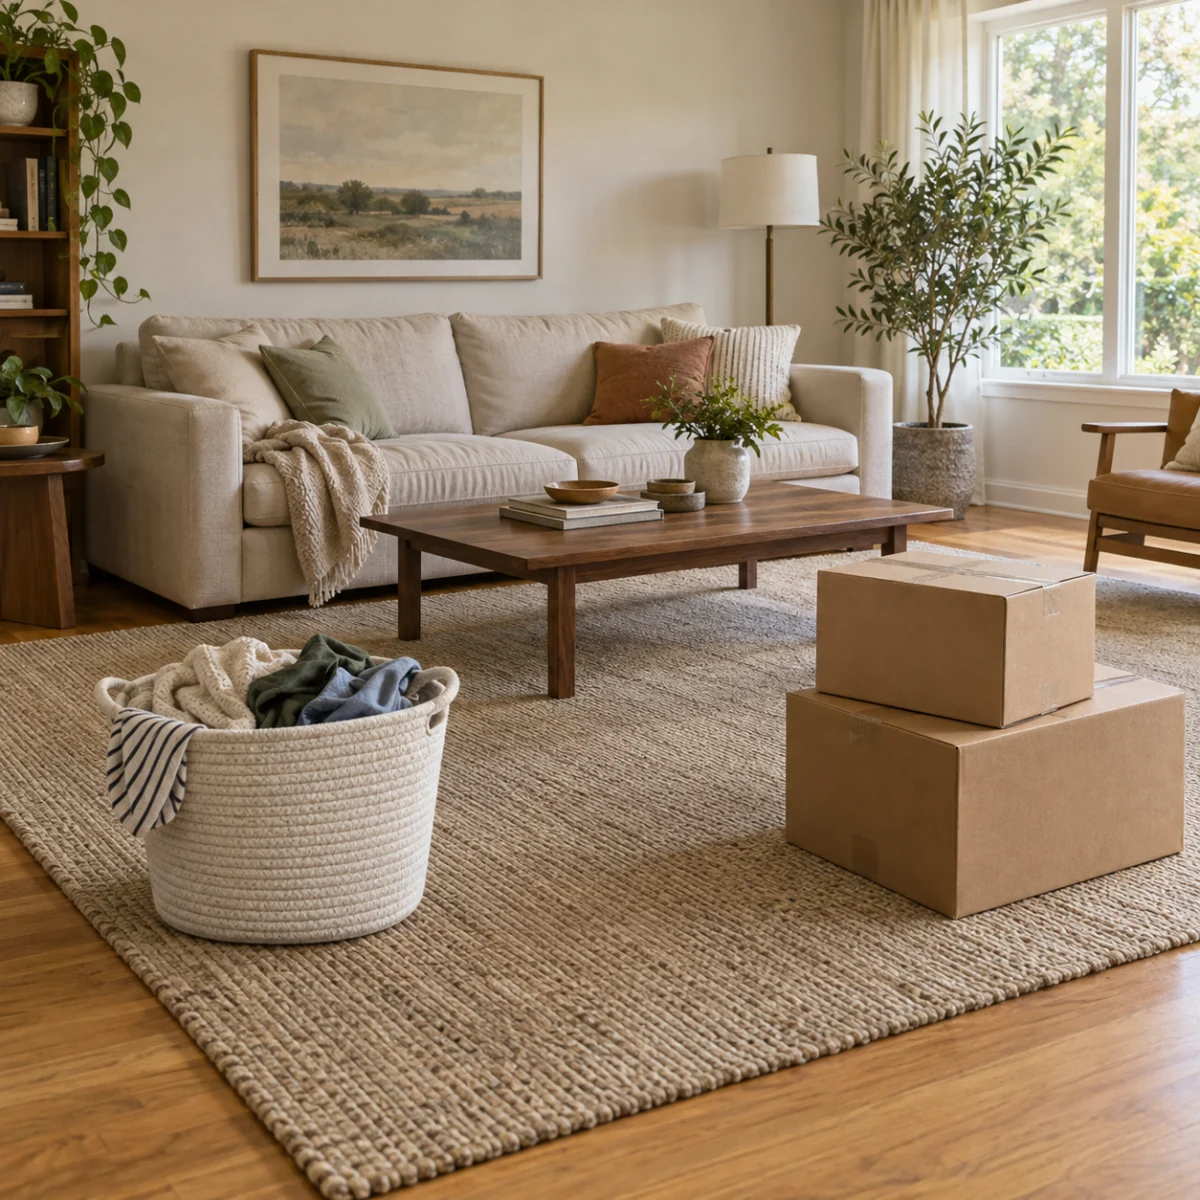
Remove laundry, boxes and other items left in the frame before sharing a room or rental photo. Check that furniture and floors still look right.
List every item in one instruction, so the floor and rug are rebuilt together.
Remove temporary clutter, not permanent features. Listing photos should still describe the property honestly.

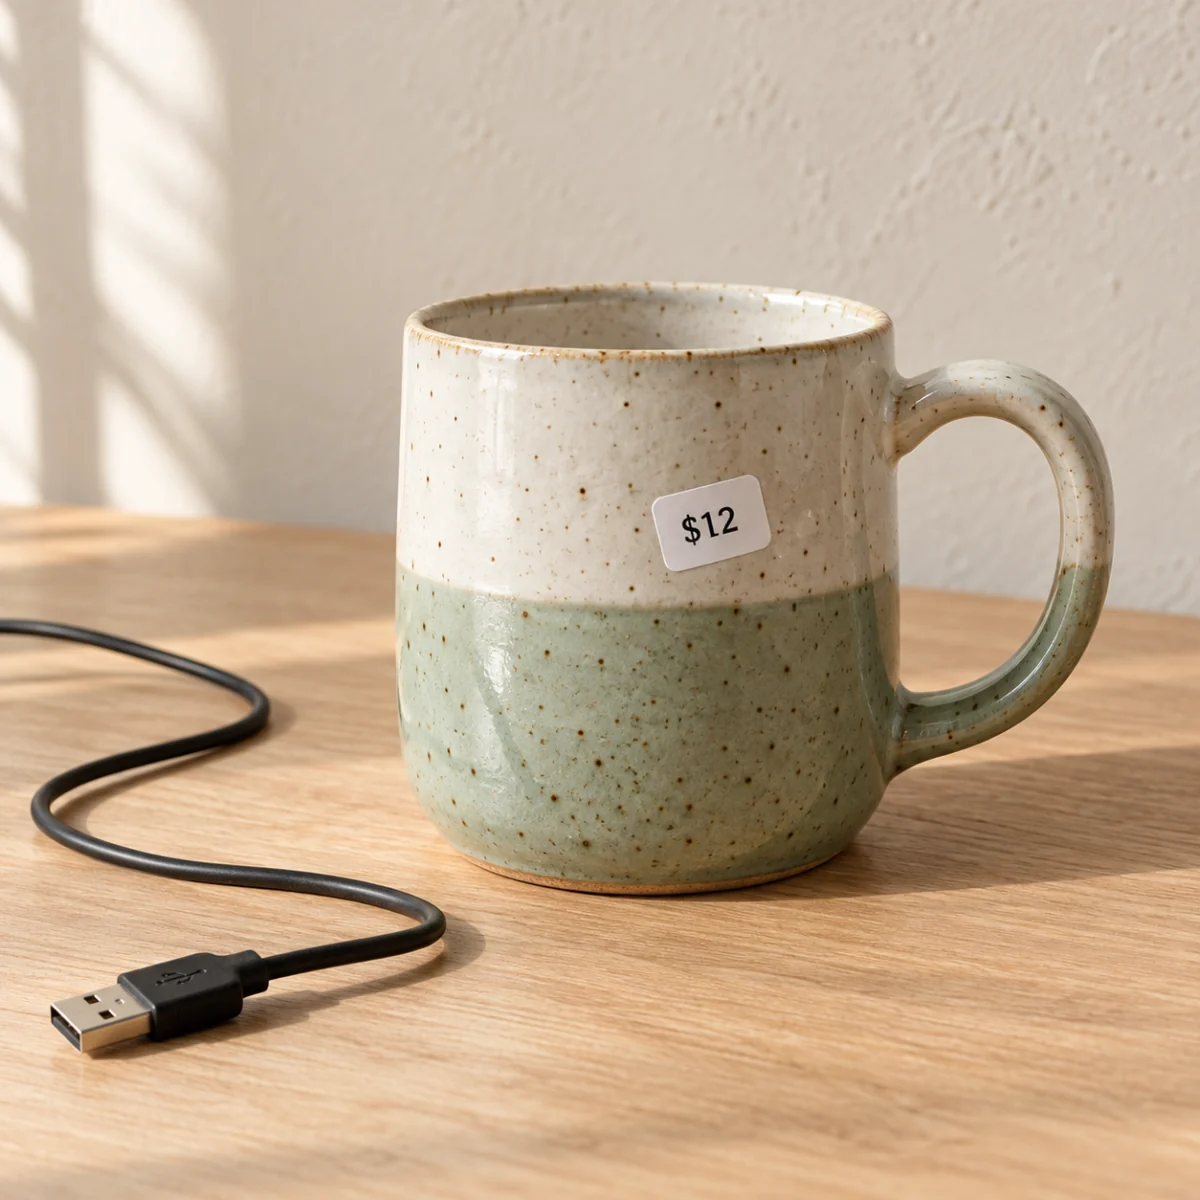
Take price stickers, cables and stray props out of a product shot without setting up the photo again. Check labels and edges at full size.
Mention the product, its finish or its label to tell the model what to preserve. Check these details in the result.
Plain tables, walls and skies are easier to fill than crowded or patterned areas.

Choose one JPEG, PNG or WebP where the objects to remove are easy to see.
Name each object and its position, then add anything nearby that should stay. Start with an example and adapt it to your photo.
Check the credit estimate, sign in and generate. Compare the result with your photo at full size, then download it.
No. This page has no brush or mask selection. Describe the object and where it is in the photo; a clear name and position help the model find it.
Not necessarily. The model is instructed to keep everything you did not mention, but it generates a new image, so small details, textures or text can shift. Pixel-exact retouching requires a conventional editor.
Clutter, signs, stickers, cables, bins, cones, vehicles and other distinct objects work best. Large objects in front of complex backgrounds are harder to fill convincingly. Only edit photos you have the right to use, and do not remove watermarks or credits from other people's work.
Yes. List each object in the same instruction. If an object appears more than once, say which one, for example the cone on the left.
Generation requires sign-in and SceneFlare credits. The button shows an estimate for your photo and settings before submission. Each new generation uses credits. Files and instructions reset on refresh; finished images are saved to your library.
Upload a photo and describe what should disappear.