Flare / Sunburst
Sunburst focuses on edit fidelity. Use it when preserving the reference matters most.
Generate and edit images with GPT Image 2.6. Choose Flare for quick iterations or Sunburst for detailed work, and set the size, quality and number of results.
Explore other image models for generation and editing.
Start with Flare to explore a poster layout or product scene. Use Sunburst when a reference edit needs closer attention to the source. Both versions support text-to-image and image editing in the same workspace.
Sunburst focuses on edit fidelity. Use it when preserving the reference matters most.
Five quality levels let you balance detail, generation time and credits.
Choose 1–10 images per request. After completion, select each thumbnail to preview and download that image. Your results remain accessible from Library after leaving the page.
For a new image, specify the subject, setting and composition. For an edit, upload the source first, describe what should change, and name the details to carry over.
Choose an aspect ratio and 1K, 2K or 4K. Use custom pixel dimensions when the image must fit a specific layout.
Upload a PNG mask that matches the first reference image. Use transparency to mark the area to edit and leave the rest opaque.
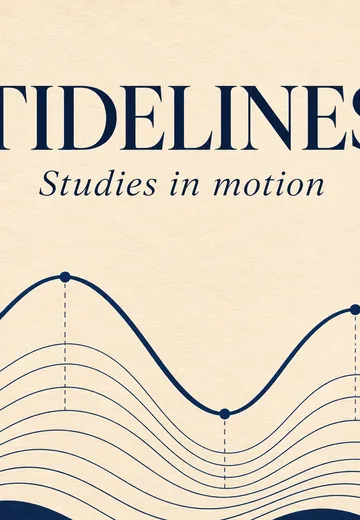
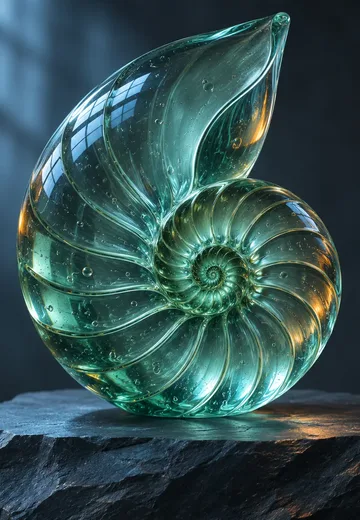
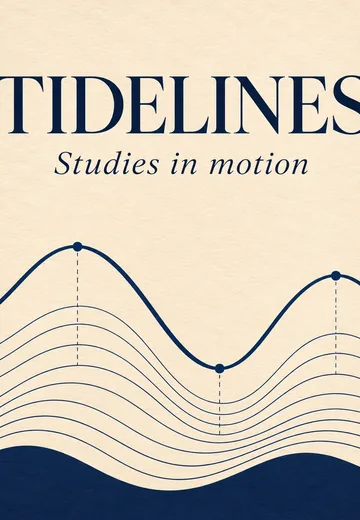
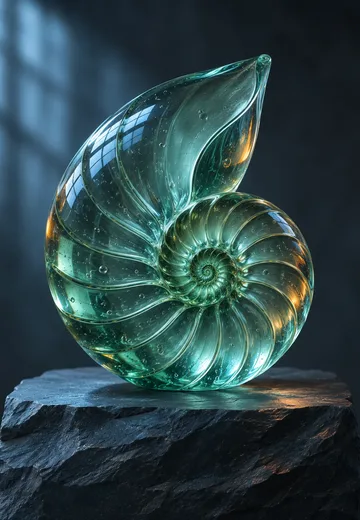
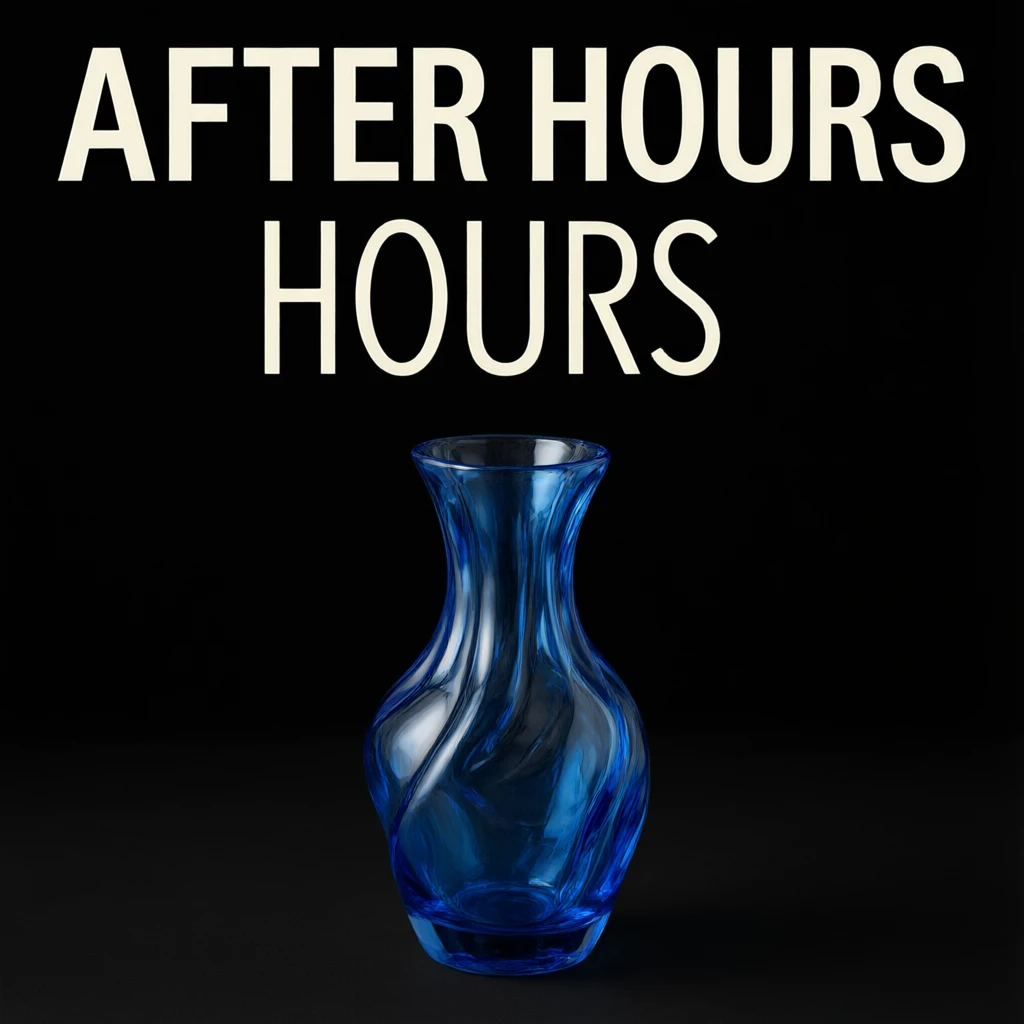
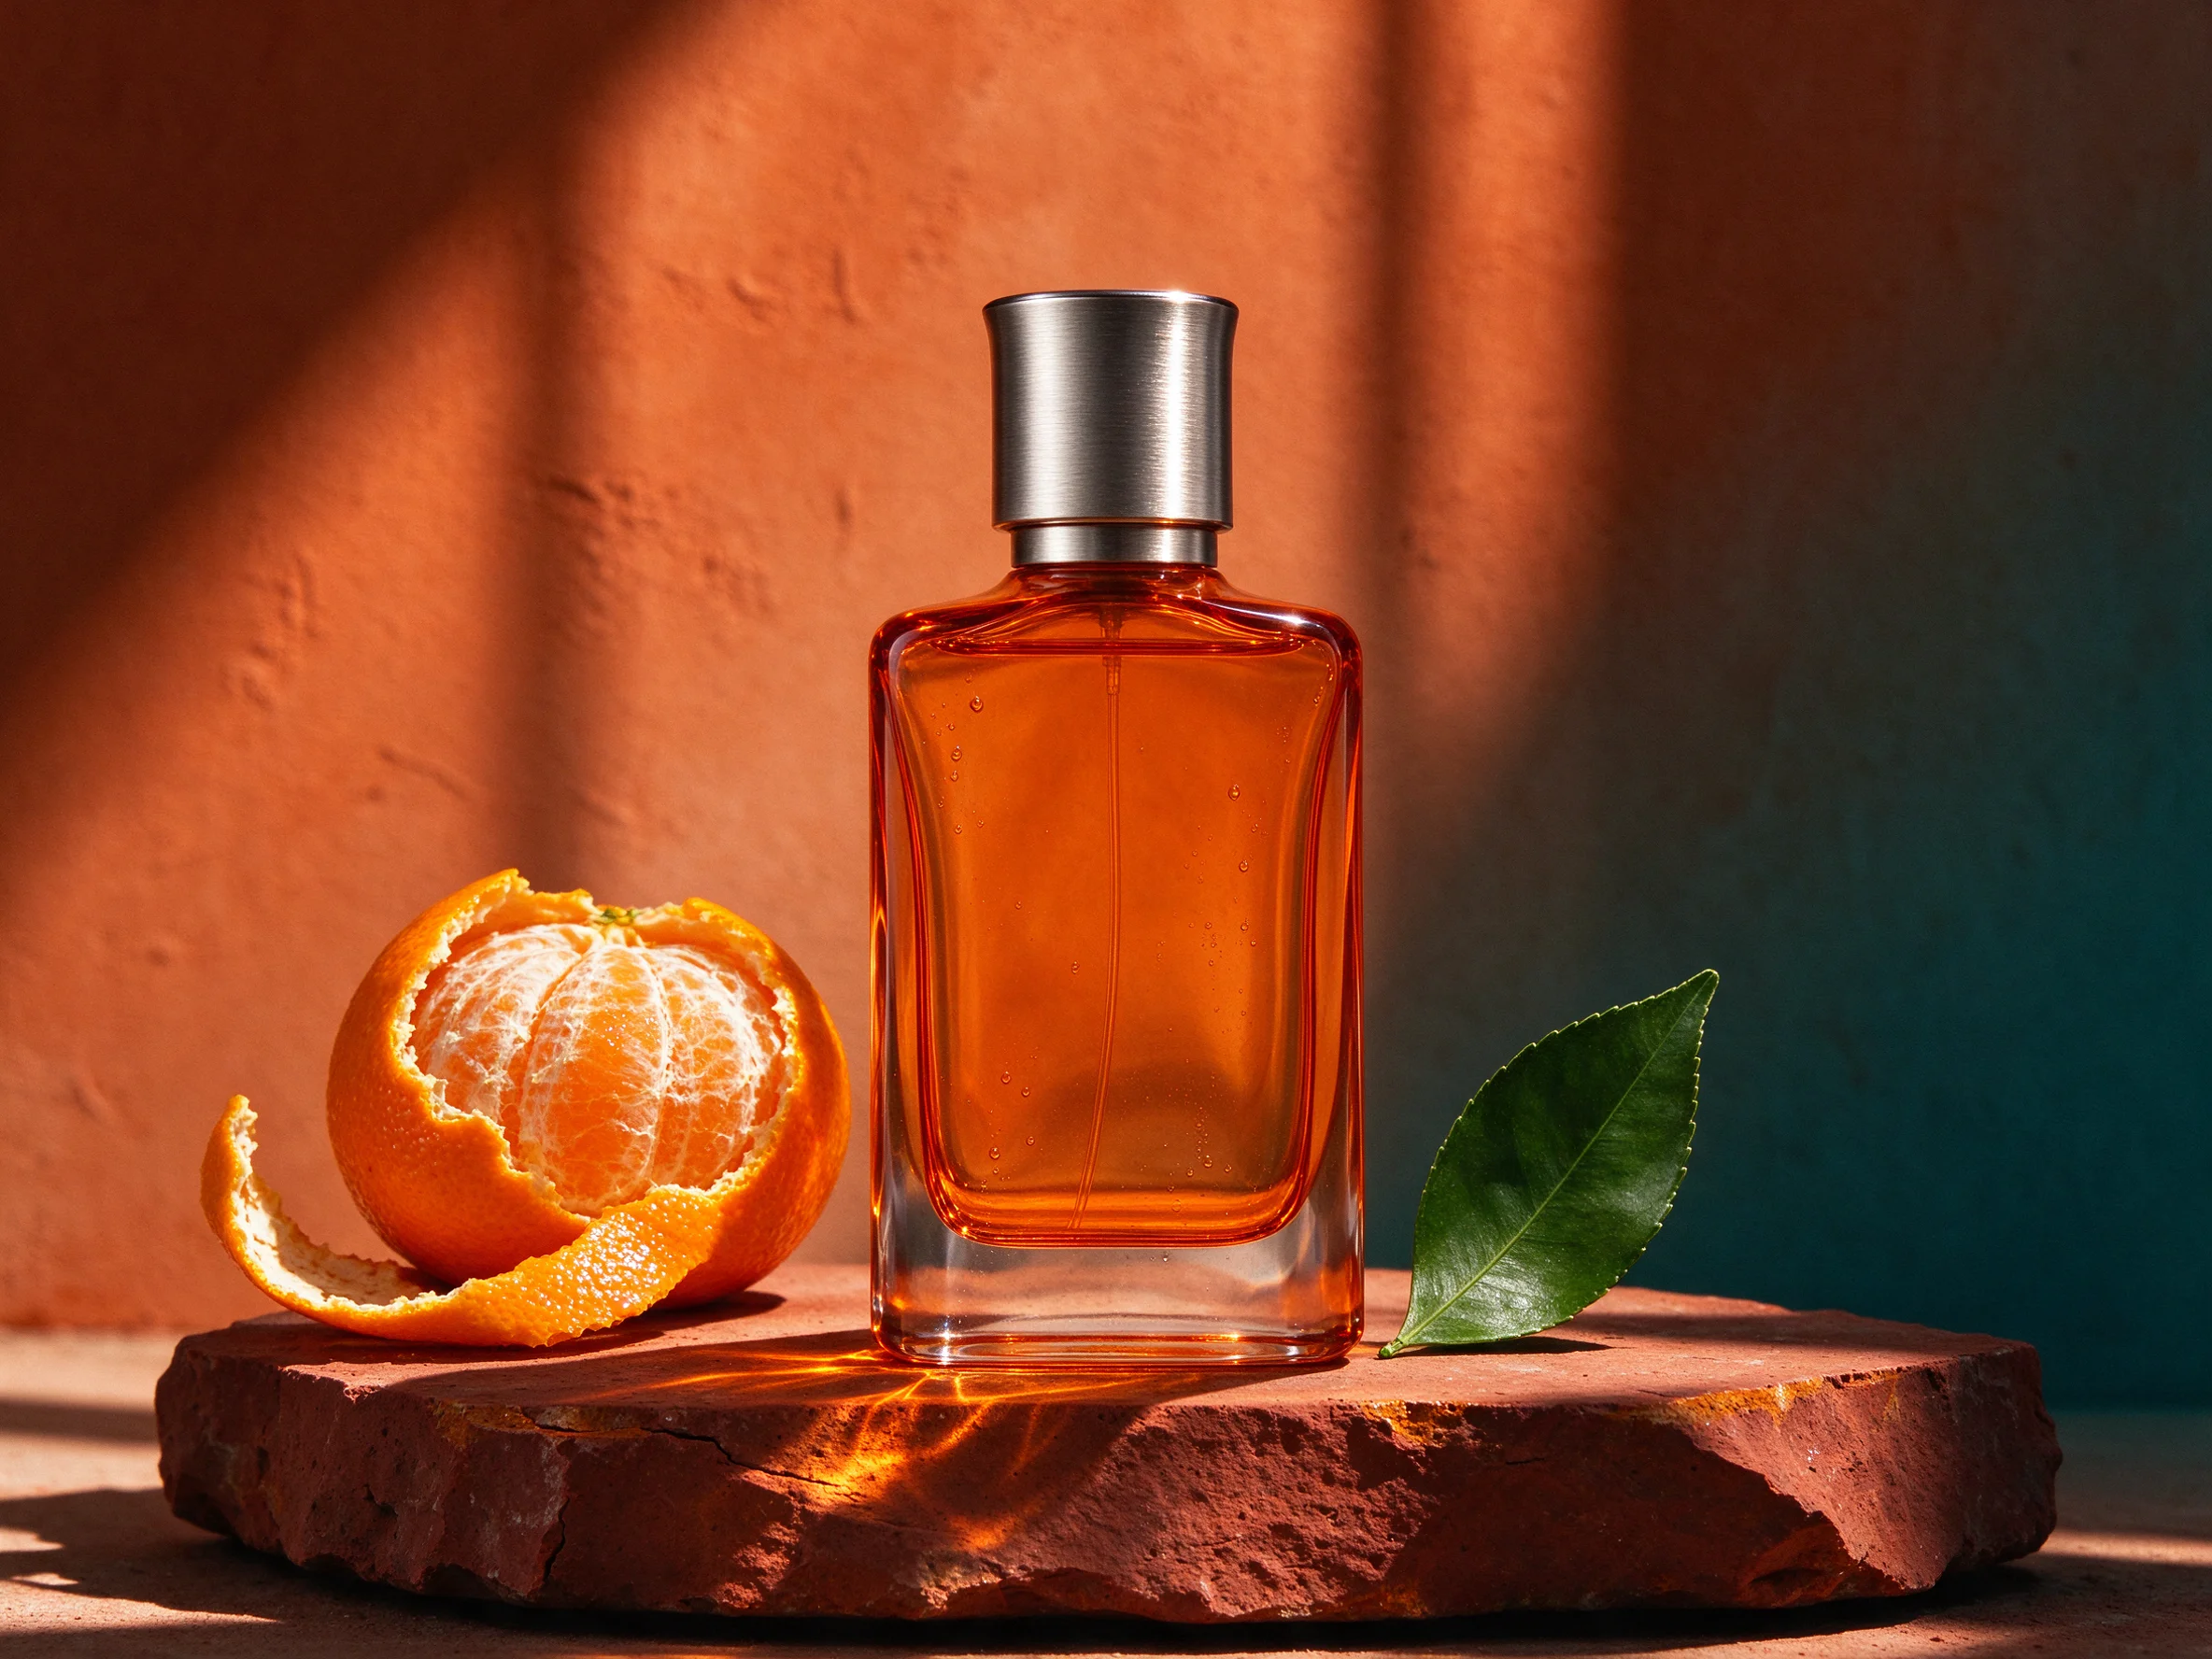
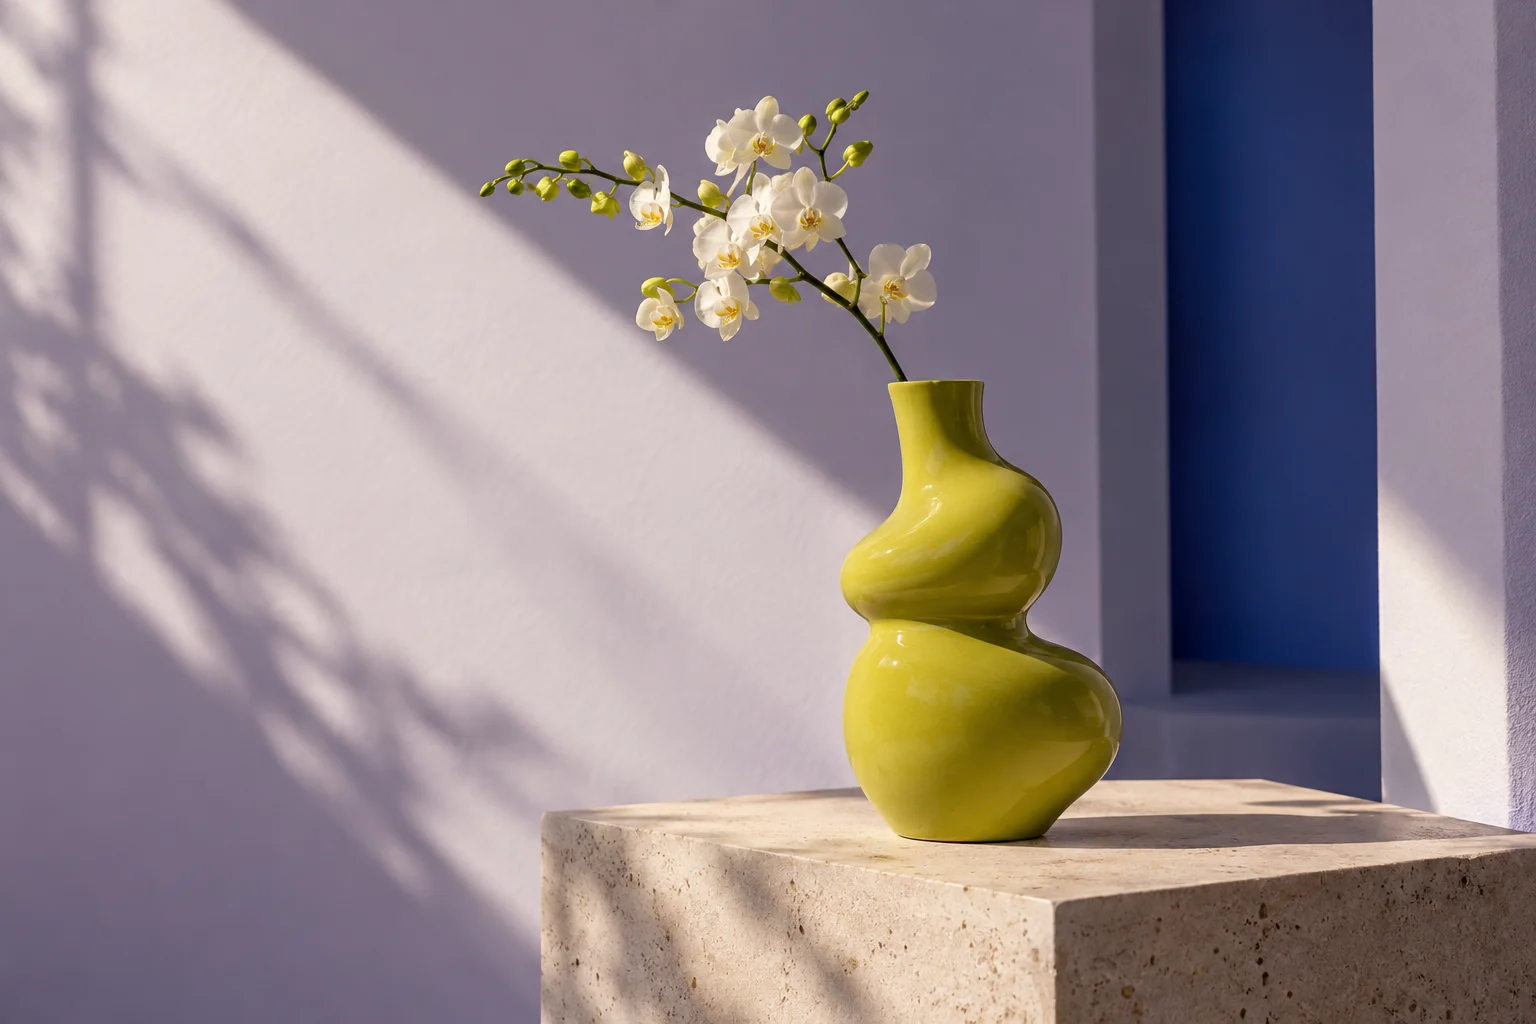
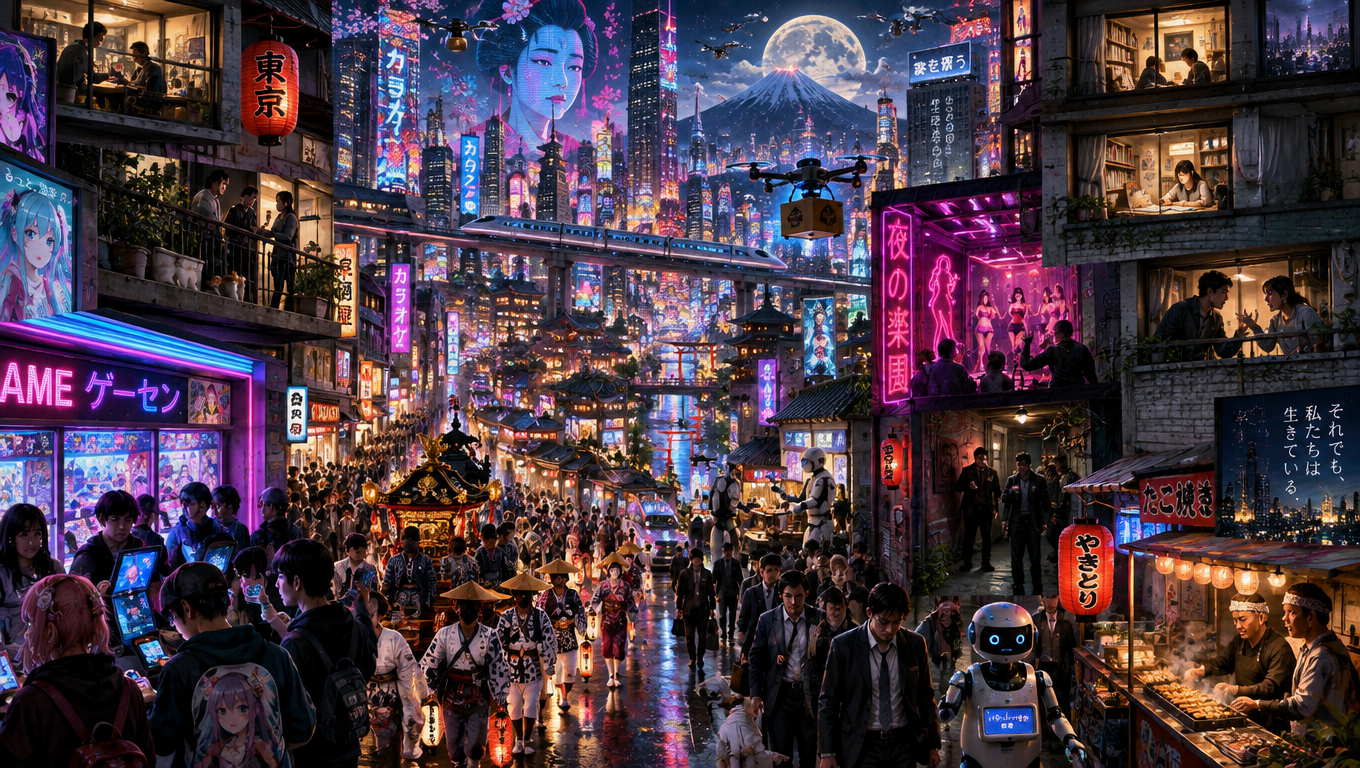
SceneFlare created these illustrations to show how to describe typography, light and texture in a prompt.
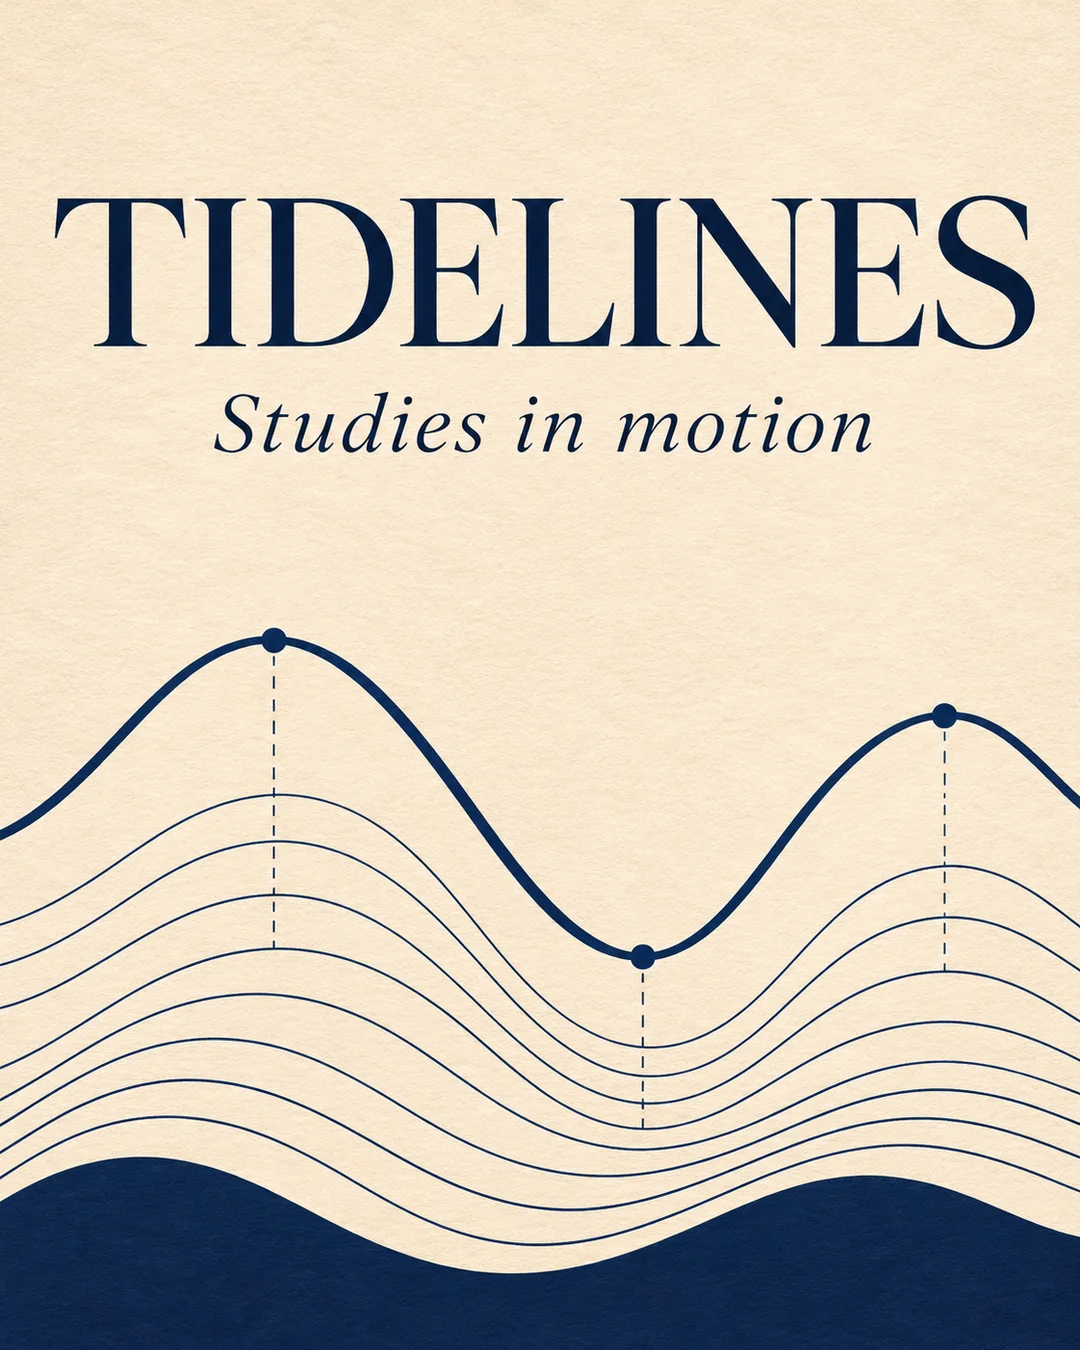
The dark blue headline stands out against warm paper, with tide lines filling the lower half. Specify the exact wording and give the main line a clear place in the layout.
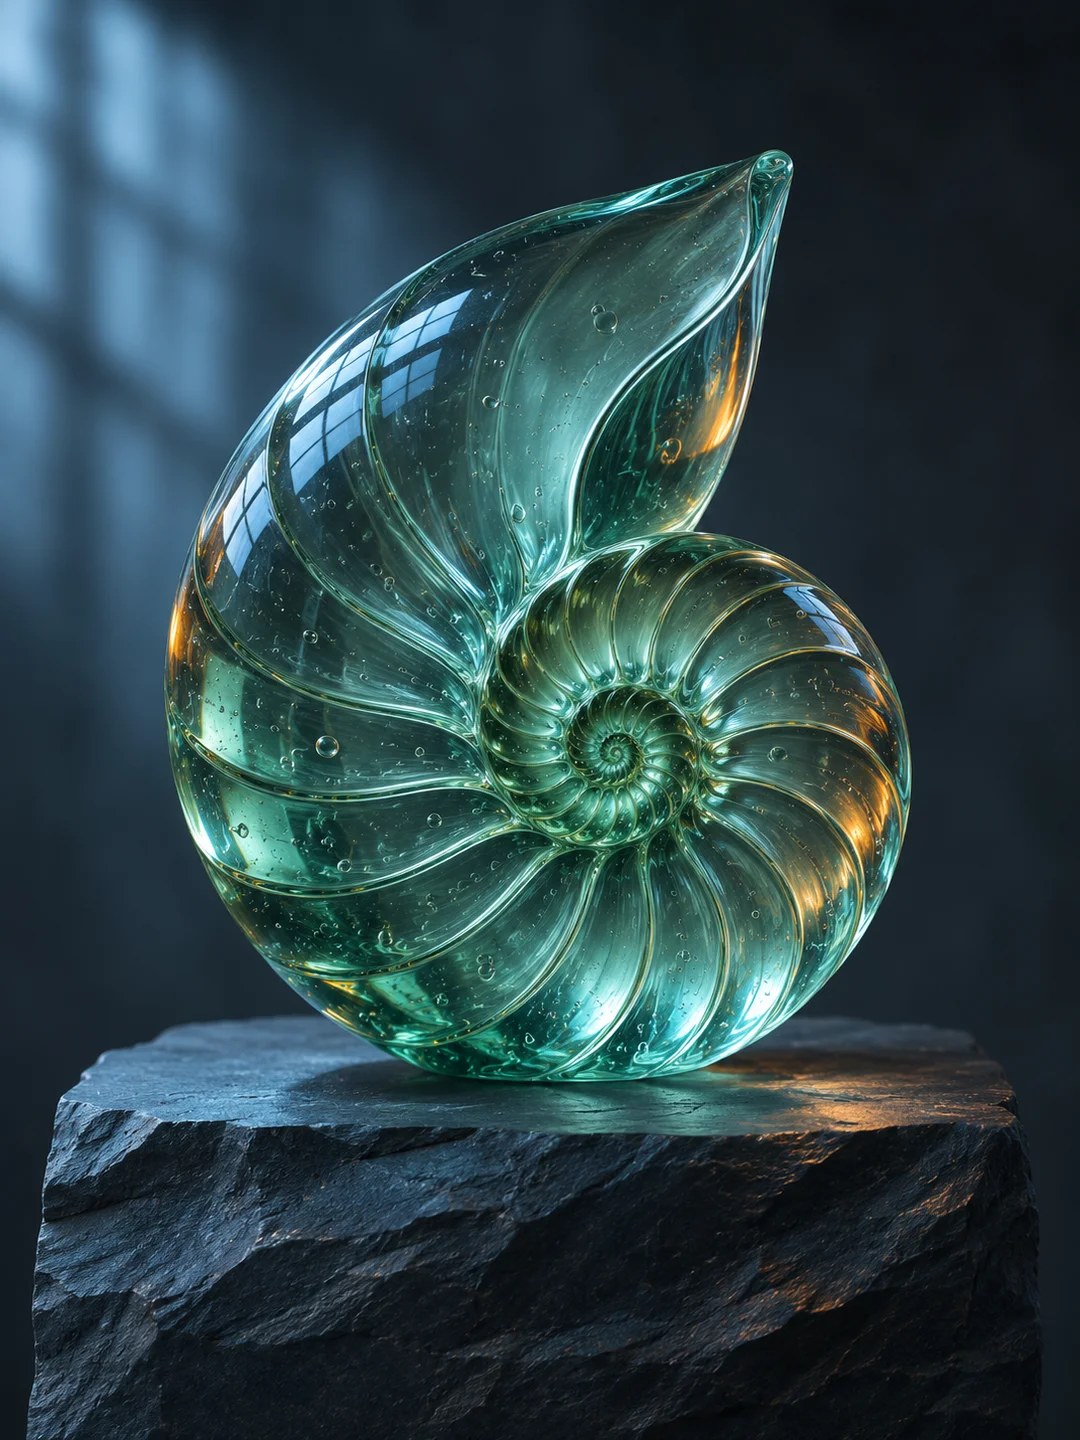
Cool light picks out the ridges of the glass shell, and warm reflections reveal its curve. Describe the material and light direction, then zoom in to inspect the edges and texture.
Start with Flare for iteration or Sunburst for precise edits. Select text-to-image for a new scene, or image-to-image to upload references.
Choose quality, size, background and image count. For local edits, add an alpha mask matching the first reference. The button shows the total credits before submission.
Wait for completion, inspect every result and download the ones you need. To refine a result, upload it as the reference for a new request.
Flare is intended for quick iteration. Sunburst is geared toward detailed visual work and reference edits. Try the same brief and compare the details that matter to your project.
Editing accepts up to 16 reference images and one optional PNG mask. Each request can create up to 10 still images.
The quote considers the prompt, references, size, quality and image count. Review the credit estimate in the generator before submitting.
Start with a prompt, choose your version and review the credits before generating.